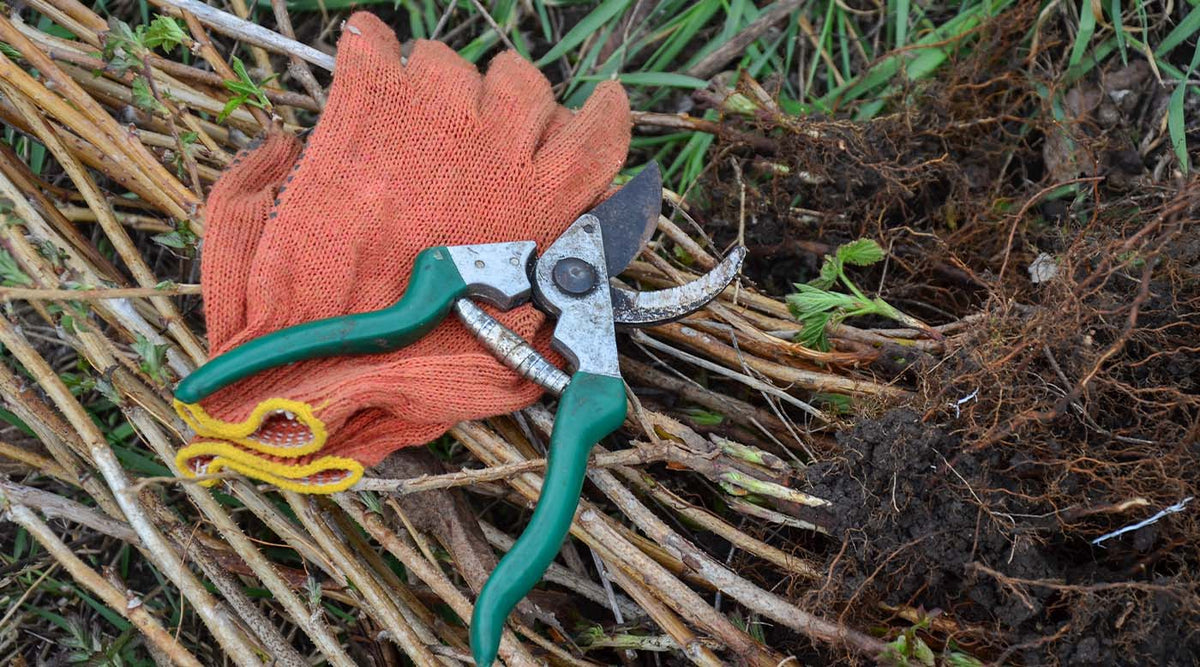
In this article, we explain why a pair of pruning shears might suddenly stop opening reliably on its own after being squeezed, the role that dirt and residue play in this, and how thoroughly cleaning the moving components can help.
The movement cycle is actually quite simple: you squeeze the handles together, the blades close, and when you release them, the spring ensures the pruning shears open again. But at some point, this exact process stops working correctly. The shears open only slowly, get stuck halfway, or even have to be pulled apart by hand.
Especially after an intensive gardening season, this is not an unusual phenomenon. Plant sap, soil, dust, and other residue get into the mechanics during work. Combined with lubricants, this can turn into stubborn buildup. At the same time, the spring, joint, and other moving components can wear out over time.
Before prematurely replacing a pair of pruning shears, it is worth taking a closer look. Not every stuck pair of pruning shears is automatically defective. Sometimes, accumulated dirt simply impairs the mechanics. A thorough cleaning can then be the right first step.
Why pruning shears can suddenly become stiff
Pruning shears have to withstand a lot during their work. When cutting branches, perennials, flowers, and other plants, the blades are constantly in contact with plant sap, moisture, and small plant remnants. On top of that, there is soil, dust, and fine particles from the environment. Some of this can be easily wiped off after gardening, but some of it ends up in the joint or settles around the spring.
Plant sap, in particular, can be problematic. If it dries on metal parts, it creates sticky residue to which dust and other contaminants can adhere. If there is also lubricant on the mechanism, this can develop into an increasingly viscous mixture over time.
The spring has to work against this extra resistance when opening the shears. At first, you might barely notice it. Later on, the shears open more slowly or even get stuck.
However, this does not mean that dirt is always the cause. A fatigued or damaged spring, corrosion, a joint that is too tight, or mechanical wear can also be responsible for the stiffness.
If your pruning shears are sticking, it is worth first taking a look at the joint, spring, and moving metal parts. If there is significant buildup, a thorough cleaning is a sensible first approach before deciding on repair or replacement.
Which residues settle in the spring and joint
Pruning shears get dirty exactly where their mechanics need to work reliably. When cutting, plant sap, resins, small plant fibers, soil, and dust do not just get on the blades. Due to the constant movement, fine residue can also get into the joint, onto the spring, and between moving metal parts.
The combination of different types of dirt is particularly problematic. Fresh plant sap can often be removed relatively easily. However, if it dries, it can leave behind a sticky coating. Dust, soil, and tiny plant particles then stick to this coating. If there is also oil or other lubricants on the mechanism, the residues can form a thick layer over time.
Superficial cleaning does not always reach such buildup completely. The blades may look clean afterward, while dirt remains in the joint or around the spring. Even a relatively small amount there can be enough to impair the movement.
Moisture should not be underestimated, either. If dirty or still-damp pruning shears are put away immediately after work, corrosion can be promoted on unprotected metal surfaces, which can further stiffen the mechanics.
A clean blade therefore does not mean that the mechanics are clean. If the pruning shears no longer open on their own, the joint, spring, and all moving connections deserve particular attention.
Dirt or wear: How to categorize the problem
Sticking pruning shears cannot always be repaired through cleaning alone. Therefore, it is useful to check the source of the stiffness before starting more intensive maintenance.
For example, if the shears have worked fine for a long time and became increasingly stiff during the gardening season, accumulated dirt is a plausible cause. Visible plant remnants, sticky buildup, or a heavily soiled joint mechanism are further indications that cleaning makes sense.
It is a different story if the spring is bent, broken, or clearly fatigued. Heavily corroded components, damaged joints, or loose connections cannot be fixed by cleaning. In such cases, individual components may need to be replaced, or the pruning shears may need professional repair.
A common reflex when stiffness occurs is to simply apply additional oil. This may improve movement in the short term, but it does not necessarily remove existing buildup. On the contrary: too much lubricant can attract new dust and dirt.
Cleaning and lubricating therefore serve different purposes. First, disturbing residues should be removed. Afterward, appropriate lubrication of the moving parts can be useful, provided the manufacturer recommends it.
If the mechanism still does not move freely after a thorough cleaning, you should look more closely for mechanical wear or damage. This helps ensure that an actual defect is not simply masked by additional lubricant.
How ultrasonic cleaning can support thorough maintenance of the mechanics
In pruning shears, stubborn dirt often settles in places that are difficult to reach with a cloth or brush. Plant remnants, resins, old lubricants, and fine dirt can remain around the joint, on the spring, in small indentations, or between detachable metal parts. This is exactly where ultrasonic cleaning can be an interesting option for more thorough maintenance.
An ultrasonic cleaner transmits high-frequency vibrations to a suitable cleaning fluid. This creates very small bubbles that form and collapse. This process is called cavitation. The forces generated can help to loosen adhering dirt even from fine crevices and hard-to-reach areas.
For robust, suitable metal components of pruning shears, our professional EMAG ultrasonic cleaner can be used, for example. This can be especially useful for shears that can be disassembled, allowing individual metal parts to be cleaned separately. This reaches areas that often go unnoticed during purely superficial cleaning.
However, not every pair of pruning shears should be placed in an ultrasonic bath completely and without checking. Handles made of wood or certain plastics, coatings, and other sensitive materials may have special requirements. Even for models that cannot be disassembled, you should first check whether the manufacturer allows this type of cleaning.
The cleaning fluid, temperature, and duration must also be suitable for the material and the type of residue. After cleaning, the components should be dried completely. Afterward, depending on the model, it may be necessary to lubricate the joint and other moving areas again in accordance with the manufacturer's instructions.
How to keep pruning shears working smoothly in the long term
The best strategy against sticking pruning shears is to prevent stubborn buildup from forming over the months in the first place. Especially during the gardening season, a quick bit of maintenance after use is worth it.
Fresh plant remnants and sap are usually easier to remove than dried-on residue. After working on resinous or particularly sappy plants, the shears should therefore be cleaned as soon as possible. It is worth checking not only the blades but also the spring and joint regularly.
After wet cleaning, complete drying is important. Pruning shears should not be left in the tool shed wet or permanently damp. Moisture can promote corrosion on suitable metal surfaces and thus impair their movement in the long term.
For regular maintenance, these points are particularly important:
- Remove plant remnants and dirt promptly
- Check the spring and joint regularly
- Remove stubborn buildup thoroughly
- Dry metal parts completely after cleaning
- Maintain and lubricate moving components according to manufacturer specifications
A more thorough inspection before storage in the autumn is particularly sensible. Anyone who puts their pruning shears away clean, dry, and well-maintained for their winter break reduces the risk of starting the spring with seized-up mechanics.
If pruning shears no longer open on their own, it does not necessarily mean they have served their time. Dirt, dried-on plant sap, resins, and old lubricant residue can accumulate around the spring and joint and increasingly impair movement.
A thorough cleaning is therefore a sensible first step, provided there are no obvious signs of damage or wear. For suitable, detachable metal parts, ultrasonic cleaning can help to loosen even hard-to-reach residue. Afterward, complete drying and proper maintenance are decisive.
If the pruning shears remain stiff despite clean mechanics, you should check whether the spring, joint, or other components are worn or damaged. Cleaning can remove dirt, but it cannot repair a mechanical defect. Those who take this difference into account and maintain their pruning shears regularly create the right conditions for them to continue cutting reliably in the next gardening season and to open automatically after every cut.